Don’t Forget the Star: Intune User Rights
There’s a moment every Intune admin eventually faces. You’ve crafted a beautiful custom policy, deployed it with care, and waited for that sweet green checkmark. But instead, you get… nothing. Or worse, a red error code that feels like Windows is mocking you. You double-check your settings. You verify against Configuration Service Provider (CSP) docs. You even reboot the device just to be sure. Still, the policy refuses to apply. Sound familiar?
I had one of those moments this week when trying to deploy User Rights via Intune. A powerful but also a bit strange part of the CSP. And when T-Bone have problems, other Intune admins sure do. So I´m going to unravel a pretty undocumented part. There are other blogs and communities discussing it, but the CSP docs is not really telling you how to do it. But first, let’s set the stage.
What Are User Rights?
User Rights (also known as privileges) are the permissions that define what users and groups can do on a Windows device. These aren’t just technical details, they’re the backbone of your security posture.
- Want to control who can log on locally? That’s a User Rights!.
- Need to restrict who can shut down the system? User Rights!
- Want to allow only specific groups to access the device over the network? Yep, also User Rights.
In the old days, these were managed through Group Policy. But in the cloud-first world of Microsoft Intune, we use something called a Configuration Service Provider (CSP).
What’s a CSP, Really?
Think of a Configuration Service Provider (CSP) as a translator between Intune and Windows. It’s a structured way to tell Windows: “Here’s a setting. Apply it.”
For User Rights, we use the Policy CSP, which looks like this one:
./Device/Vendor/MSFT/Policy/Config/UserRights/<PolicyName>
Each Policyname corresponds to a specific right, like:
AccessFromNetworkAllowLocalLogOnShutDownSystemChangeSystemTime
These are powerful settings. They can lock down a device, open up remote access, or even prevent users from logging in entirely. So yeah, getting them right matters.
But Hey, I use Settings Catalog
That is correct, in Intune we configure settings by using Settings Catalog. This is a user friendly GUI for us to find and set all the settings the CSP allow us to set. So in the background, the setting is translated to a CSP setting with a specific URI, like: ./Device/Vendor/MSFT/Policy/Config/UserRights/
Configure User Rights with Intune
- Access the Intune Admin Center:
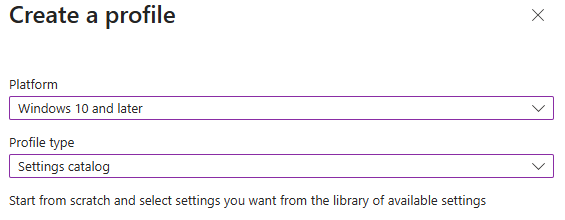
Start by logging into the Microsoft Intune admin center. Navigate to Devices and select Configuration - Select the button +Create and select New Policy in the dropdown list
- Select a policy for Windows 10 and later
- Select the Settings Catalog
- Give the new policy a suitable name and description and click next
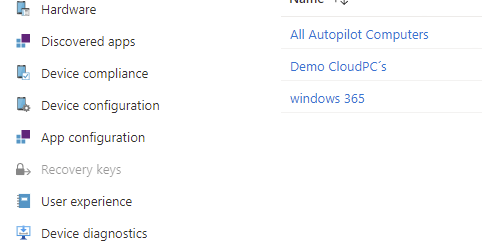
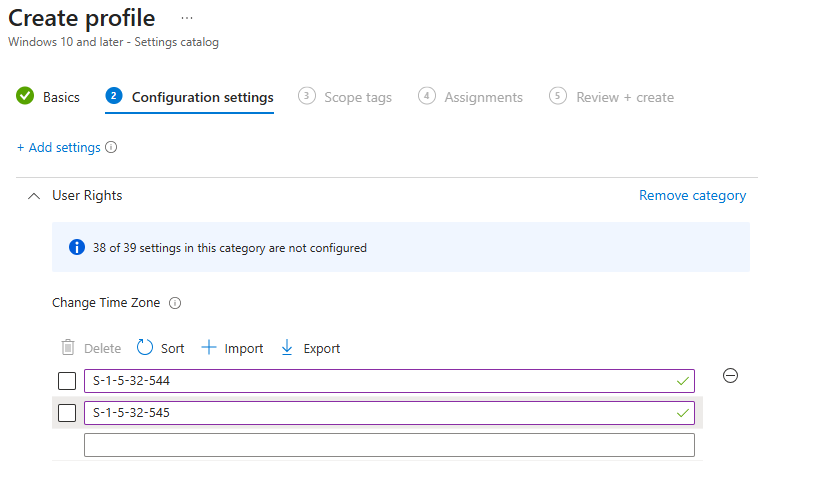
- Click +Add setting and navigate the settings catalog to find User Rights in the root of the hirarchy

- Then it is just to add the users and groups that should have this permission:
OK! that was simple, but lets pause here!
SID vs. String: Choose wisely
In this dialog, you can assign rights using either:
- Strings (e.g.,
Administrators,Authenticated Users) - SIDs (Security Identifiers, like
*S-1-5-32-544)
While strings are easier to read, SIDs are preferred, especially in multilingual environments where group names may vary. The benefit of the SID´s is that they refer to the same group no matter what language Windows have. The Windows local Administrators group in a Swedish Windows is for example called Administratörer and in Finish Windows the same group is called Järjestelmänvalvojat. Hard for us to read and spell but even more harder for the CSP to understand. If we instead use the SID “S-1-5-32-544”, we target the administratorsgroup regardless of language. So SID is the way to go here!
Ok, so we just add the SIDs?
⛔THE POLICY FAILS!
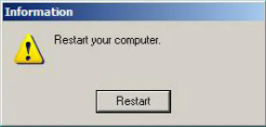
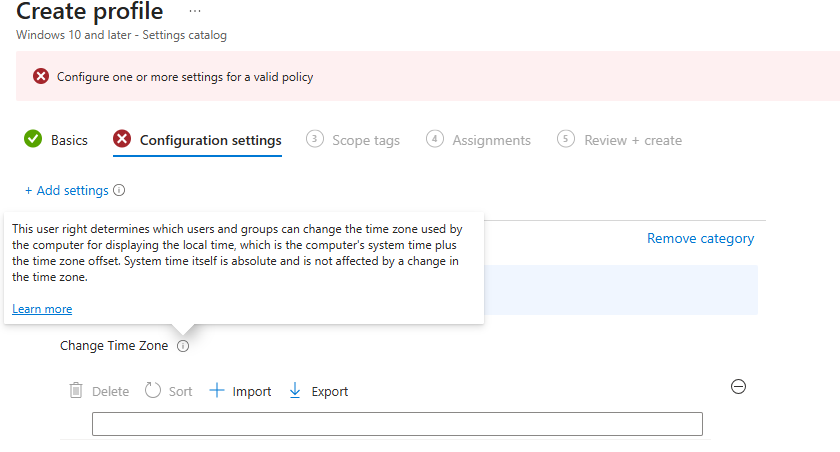
Ok, lets read some more on the info popup:
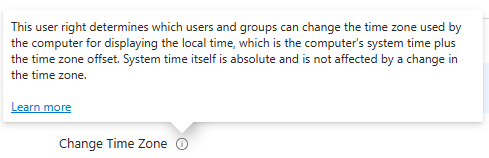
No hint here, so lets click on the learn more link
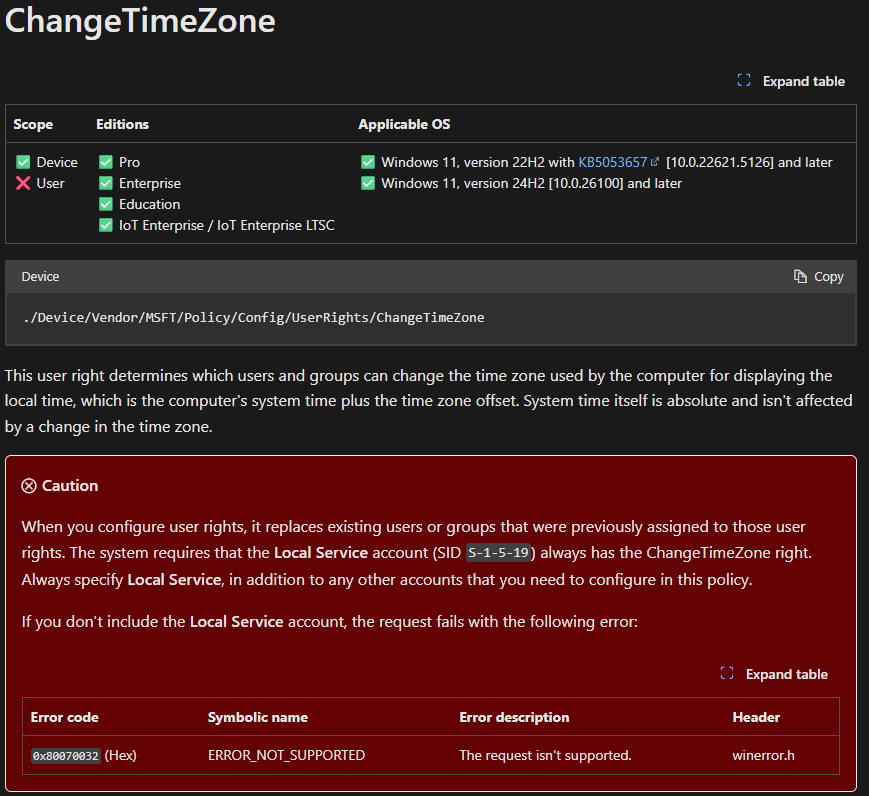
https://learn.microsoft.com/en-us/windows/client-management/mdm/policy-csp-userrights
Ok, that was a big red area that tells us to also add S-1-5-19 or else I will fail! Ok, so lets add that one:

⛔THE POLICY STILL FAIL!
So lets dig deeper into the CSP docs. The current problem is not easy to find, no clear mentions and no description. It tells us just to add 0xF000 as a separator when using the CSP with an XML. But this will be taken care of by Intune.
Don’t Forget the Star in the show!
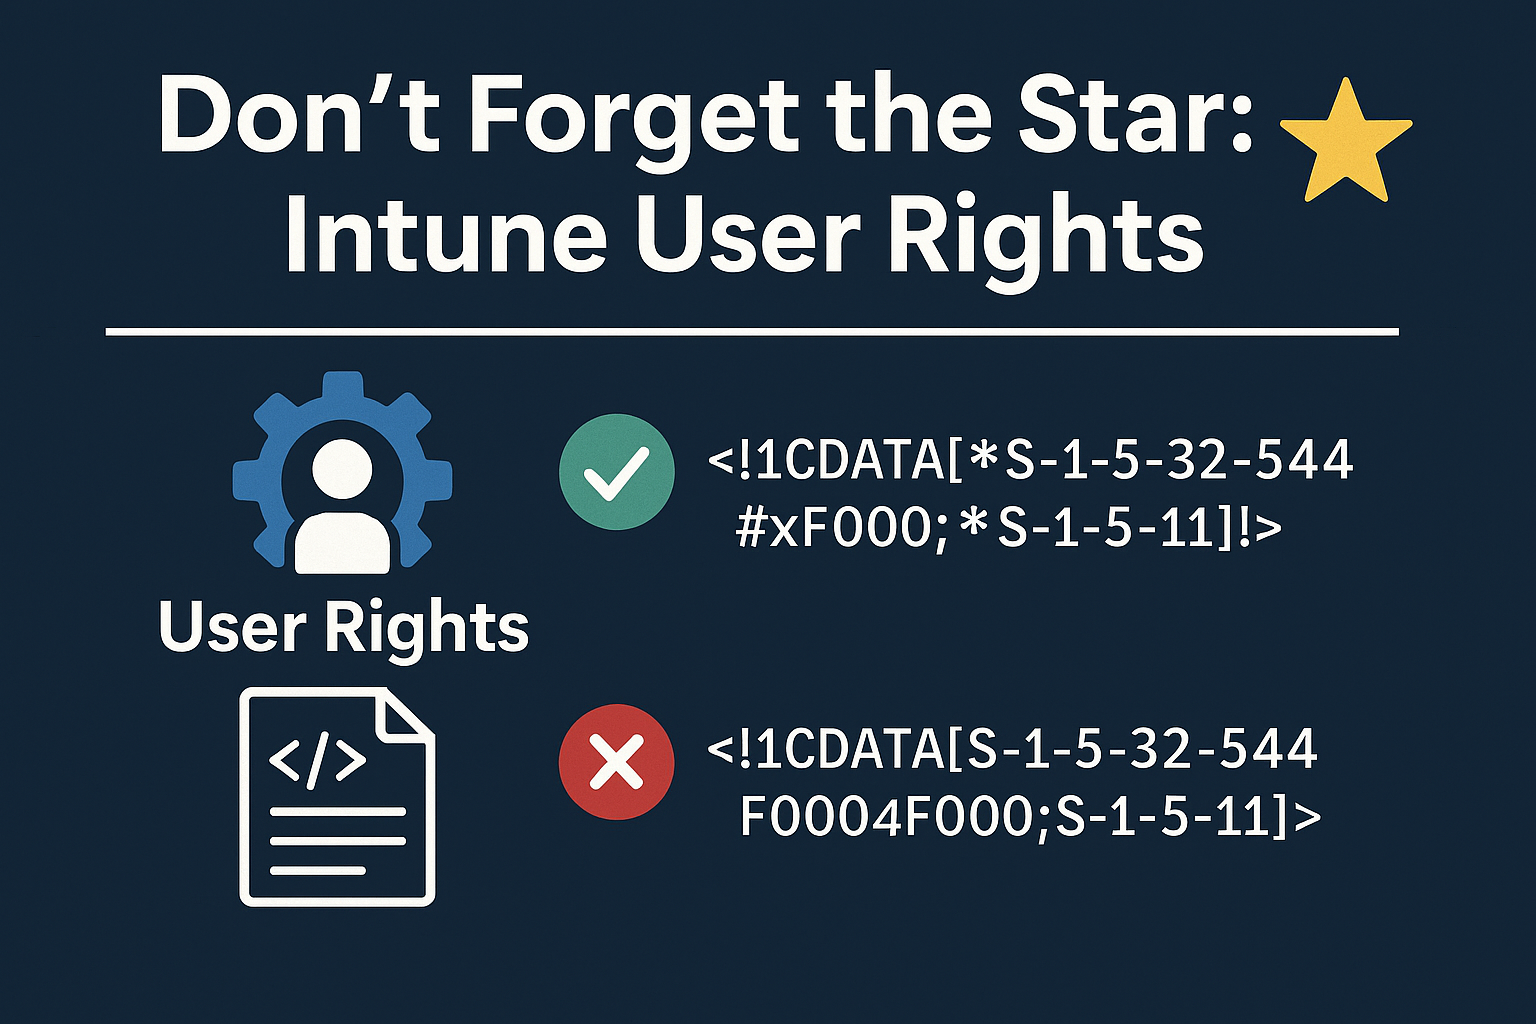
Here’s the kicker: SIDs must start with a star (*). Forgetting it will cause your policy to silently fail or throw cryptic errors like 0x87d101f4. This can be spotted if looking at the XML examples on the CSP description page. But not easy to discover if just reading the text. So lets add the star:
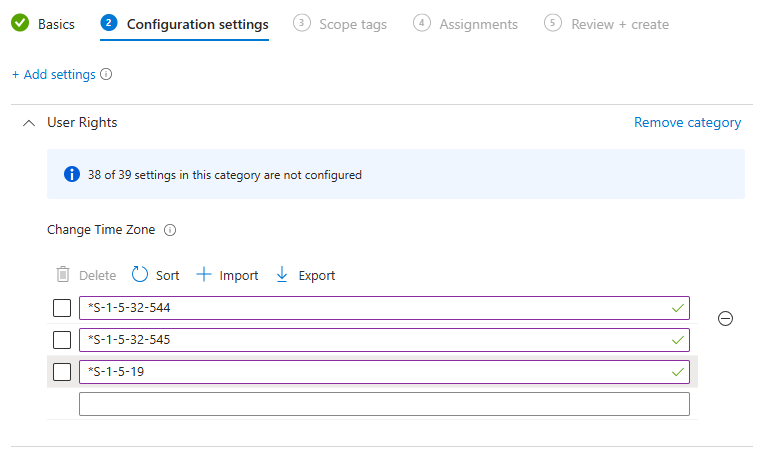
✅THE POLICY WILL SUCCESS!
Final thoughts
User Rights via Intune are powerful, but picky. The star (*) in front of SIDs isn’t optional. It’s the unsung hero of successful deployments. So next time you’re configuring a user rights policy, don’t forget the star.