Windows Virtual Desktop Part 4 – Build and Optimize Session Hosts
This is Part 4 in a series of upcoming blogs on my experience from setting up Windows Virtual Desktop at in lab but also in production on some customers of Coligo. Part 4 will focus on building and optimizing the Session Hosts.
Images
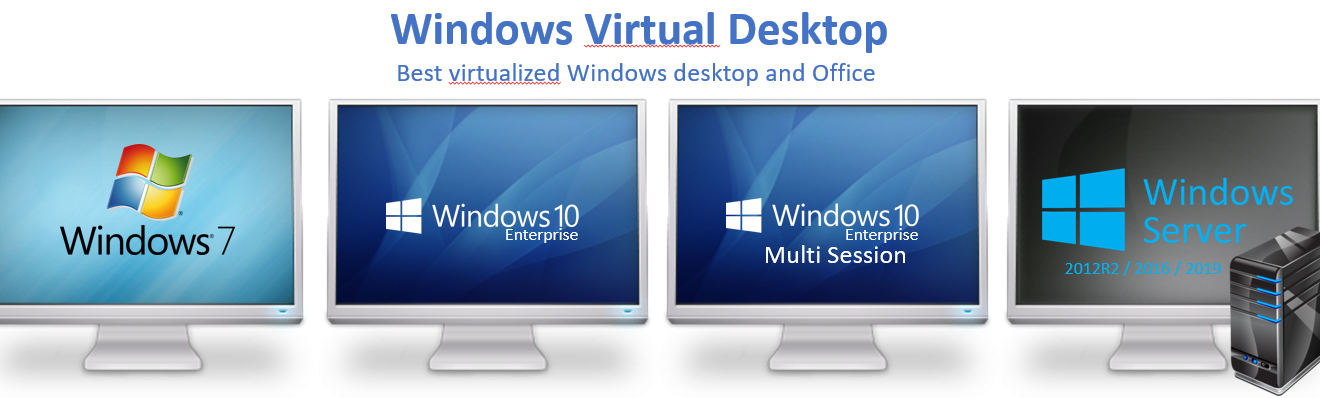
As I stated before the image from Microsoft with Windows 10 Enterprise multi-session and Office Pro Plus is my preferred image. It´s available in the Azure Image Gallery when creating the Windows Virtual Desktop. There are many options for customizing this image. I will focus on three:
- The first option is to provision one or a few WVD and customize the one by one. Just logon as an administrator and install your apps and configure the settings.
- The second option is to download the image, start it up in Hyper-V and customize it. Upload to azure when finished and use as your own VWD image.
- The third option is to leave it as it is! You can then deploy apps and set configurations remotely with Microsoft Endpoint Manager.
I would recommend the third option. Use a clean and fast image from marketplace. Then let Microsoft Endpoint Manager do the magic. Right now Intune is not supported for VWD but It´s just a matter of time until it is implemented and supported.
Now let’s go through some tips on how to optimize settings in the WVD for a fast, stable and secure VWD
Disable Automatic Updates?
Microsoft recommends disabling automatic updates in your WVD. When disabling Automatic updates, you get a more static and stable platform. Benefits of this:
- An update can make it unstable or introduce new bugs.
- An update requires compute to install and will affect VWD performance
- An update needs restart and will interrupt users
To disable Automatic Updates via registry:
reg add “HKLM\SOFTWARE\Policies\Microsoft\Windows\WindowsUpdate\AU”
/v NoAutoUpdate /t REG_DWORD /d 1 /f
I´m not so fund of the idee to disable updates! Instead you should configure update rings. You update first ring of WVD, if it works you update the next.
Roaming Profiles
If you are going to use the new Fslogix or the old roaming profiles, you need to set the following key:
reg add “HKLM\SOFTWARE\Microsoft\Windows\CurrentVersion\Explorer” /v SpecialRoamingOverrideAllowed /t REG_DWORD /d 1 /f
Windows Defender
If Windows Defender is configured in the VM, make sure it’s configured to not scan VHD and VHDX files during attachment. Fxlogix use virtual hard discs to store profiles. They are mounted on login. Defender can sometimes interfere the mount resulting in unstable profiles.
Add-MpPreference -ExclusionExtension “.vhd”
Add-MpPreference -ExclusionExtension “.vhdx”
Remote session
I recommend setting up some policies around connection limits. It prevents idle parked sessions for days, weeks or perhaps months. These parked sessions will of course affect performance.
reg add “HKLM\SOFTWARE\Policies\Microsoft\Windows NT\Terminal Services” /v RemoteAppLogoffTimeLimit /t REG_DWORD /d 0 /f
reg add “HKLM\SOFTWARE\Policies\Microsoft\Windows NT\Terminal Services” /v fResetBroken /t REG_DWORD /d 1 /f
reg add “HKLM\SOFTWARE\Policies\Microsoft\Windows NT\Terminal Services” /v MaxConnectionTime /t REG_DWORD /d 10800000 /f
reg add “HKLM\SOFTWARE\Policies\Microsoft\Windows NT\Terminal Services” /v RemoteAppLogoffTimeLimit /t REG_DWORD /d 0 /f
reg add “HKLM\SOFTWARE\Policies\Microsoft\Windows NT\Terminal Services” /v MaxDisconnectionTime /t REG_DWORD /d 5000 /f
reg add “HKLM\SOFTWARE\Policies\Microsoft\Windows NT\Terminal Services” /v MaxIdleTime /t REG_DWORD /d 10800000 /f
Set up time zone redirection
To make the VWD present the correct timezone if used by different countries and timezones. Enable timezone redirection.
reg add “HKLM\SOFTWARE\Policies\Microsoft\Windows NT\Terminal Services” /v fEnableTimeZoneRedirection /t REG_DWORD /d 1 /f
Disable Storage Sense
For Windows Virtual Desktop session host that use Windows 10 Enterprise or Windows 10 Enterprise multi-session, we recommend disabling Storage Sense.
reg add “HKCU\Software\Microsoft\Windows\CurrentVersion\StorageSense\Parameters\StoragePolicy” /v 01 /t REG_DWORD /d 0 /f
Include additional language support
Add language packs if it will be used by users with different nationalities.
Other applications and registry configuration
Enter the following commands into the registry editor to fix 5k resolution support.
reg add “HKLM\SYSTEM\CurrentControlSet\Control\Terminal Server\WinStations\RDP-Tcp” /v MaxMonitors /t REG_DWORD /d 4 /f
reg add “HKLM\SYSTEM\CurrentControlSet\Control\Terminal Server\WinStations\RDP-Tcp” /v MaxXResolution /t REG_DWORD /d 5120 /f
reg add “HKLM\SYSTEM\CurrentControlSet\Control\Terminal Server\WinStations\RDP-Tcp” /v MaxYResolution /t REG_DWORD /d 2880 /f
reg add “HKLM\SYSTEM\CurrentControlSet\Control\Terminal Server\WinStations\rdp-sxs” /v MaxMonitors /t REG_DWORD /d 4 /f
reg add “HKLM\SYSTEM\CurrentControlSet\Control\Terminal Server\WinStations\rdp-sxs” /v MaxXResolution /t REG_DWORD /d 5120 /f
If you build your own image and install Office make sure you add these reg keys, Microsoft provided a script for simple import:
rem Mount the default user registry hive
reg load HKU\TempDefault C:\Users\Default\NTUSER.DAT
rem Must be executed with default registry hive mounted.
reg add HKU\TempDefault\SOFTWARE\Policies\Microsoft\office\16.0\common /v InsiderSlabBehavior /t REG_DWORD /d 2 /f
rem Set Outlook’s Cached Exchange Mode behavior
rem Must be executed with default registry hive mounted.
reg add “HKU\TempDefault\software\policies\microsoft\office\16.0\outlook\cached mode” /v enable /t REG_DWORD /d 1 /f
reg add “HKU\TempDefault\software\policies\microsoft\office\16.0\outlook\cached mode” /v syncwindowsetting /t REG_DWORD /d 1 /f
reg add “HKU\TempDefault\software\policies\microsoft\office\16.0\outlook\cached mode” /v CalendarSyncWindowSetting /t REG_DWORD /d 1 /f
reg add “HKU\TempDefault\software\policies\microsoft\office\16.0\outlook\cached mode” /v CalendarSyncWindowSettingMonths /t REG_DWORD /d 1 /f
rem Unmount the default user registry hive
reg unload HKU\TempDefault
rem Set the Office Update UI behavior.
reg add HKLM\SOFTWARE\Policies\Microsoft\office\16.0\common\officeupdate /v hideupdatenotifications /t REG_DWORD /d 1 /f
reg add HKLM\SOFTWARE\Policies\Microsoft\office\16.0\common\officeupdate /v hideenabledisableupdates /t REG_DWORD /d 1 /f
reg add “HKLM\SYSTEM\CurrentControlSet\Control\Terminal Server\WinStations\rdp-sxs” /v MaxYResolution /t REG_DWORD /d 2880
Prepare the image for upload to Azure
After you’ve finished configuration and installed all applications, follow the instructions in Prepare a Windows VHD or VHDX to upload to Azure to prepare the image.
After preparing the image for upload, make sure the VM remains in the off or deallocated state.
Upload master image to a storage account in Azure
This section only applies when the master image was created locally.
The following instructions will tell you how to upload your master image into an Azure storage account. If you don’t already have an Azure storage account, follow the instructions in this article to create one.
- Convert the VM image (VHD) to Fixed if you haven’t already. If you don’t convert the image to Fixed, you can’t successfully create the image.
- Upload the VHD to a blob container in your storage account. You can upload quickly with the Storage Explorer tool. To learn more about the Storage Explorer tool, see this article.
- Next, go to the Azure portal in your browser and search for “Images.” Your search should lead you to the Create image page, as shown in the following screenshot:
- Once you’ve created the image, you should see a notification like the one in the following screenshot: