Contact Manager for Azure Automate

When using Outlook and Microsoft 365, it can sometimes be annoying when a college calls and it displays as “Caller ID unknown” this is because the GAL (Global Address List) is not downloaded to the phone, it is only searchable. So you can search for a college and find the contact information. But when they call, you have no info on the caller.
I have built a Contact Manager for Azure Automate. It´s available on my Github. It is built for small companies, 200 users took about 1 hour to complete.
The Contact Manager will:
- Add a contact folder to each user mailbox of users in a specified Users Group.
- It will then add Contacts to that folder for every user in a specified Contacts Group.
- Finally it will send an email report to all users in a specified Notifys Group with a log attached
After execution, all users have a personal contact folder with personal contacts for each college. When a college calls it can show the name and other information from the contact. Much more user friendly and a better experience.
The script is built with PowerShell 5.1 and uses six powershell modules:
- Microsoft.Graph.Authentication
- Microsoft.Graph.Groups
- Microsoft.Graph.Users
- Microsoft.Graph.PersonalContacts
- Microsoft.Graph.Users.Actions
- PsLogLite
It will run as a runbook in Azure Automation with a System Assigned Managed Identity.
The Managed Identity also needs 4 permissions in Azure AD:
- Group.Read.All
- User.Read.All
- Contacts.ReadWrite
- Mail.Send
Implement Contact Manager in Azure Automation
Azure Automation is a fantastic tool to use to schedule automations in your organization.
- Open Azure Portal
- Create a new Azure Automation Account
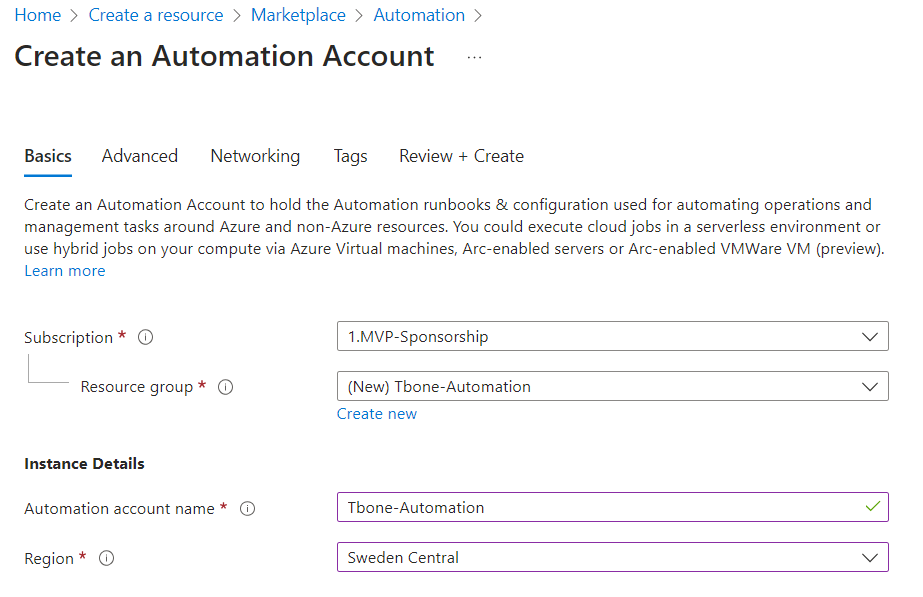
- Select System assigned managed identity

- And you can keep the Public network access

- When the account is ready, open it up
- Select Modules node and click Add Module

- Add these modules from Gallery in Runtime Version 5.1:
- Microsoft.Graph.Authentication
- Microsoft.Graph.Groups
- Microsoft.Graph.Users
- Microsoft.Graph.PersonalContacts
- Microsoft.Graph.Users.Actions
- PsLogLite
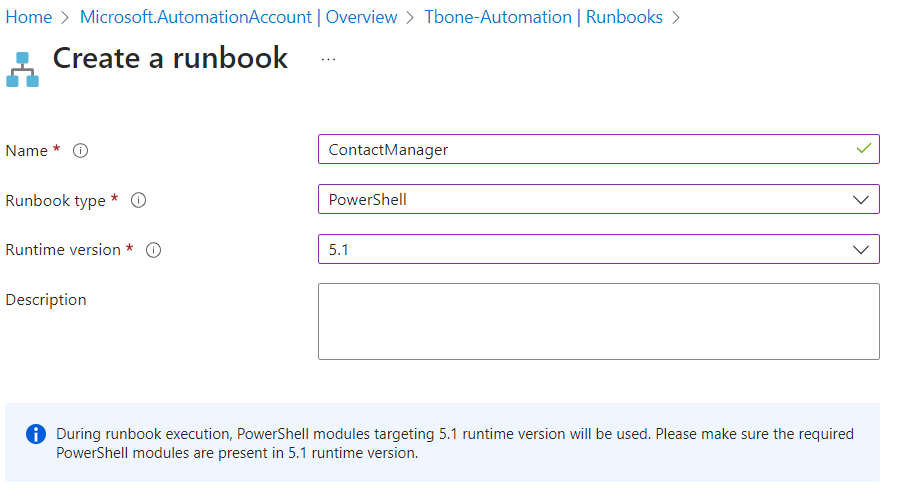
- Select Runbooks node and click Create a Runbook

- Give the runbook a suitable name “ContactManager” and select PowerShell with runtime version 5.1
- Download the script contactmanager.ps1 from my Github and paste it in your Runbook.
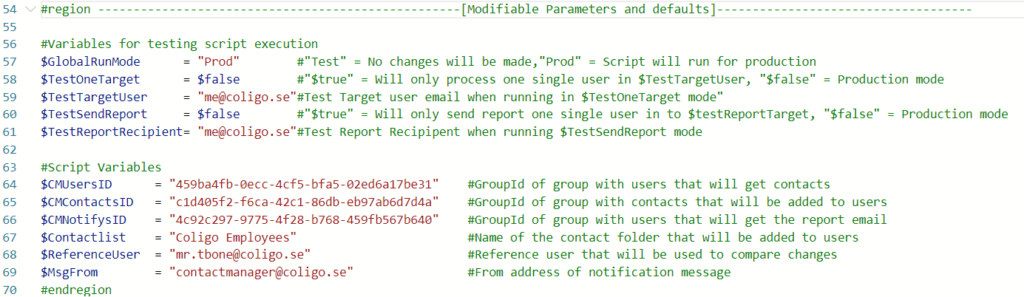
- Modify the variables in region –[Modifiable Parameters and defaults]– to suit your environment
- You need to create the tree groups, populate them with users and copy the groups object ID´s to the config.
- The last thing missing is permissions for your Managed Identity. This needs to be added manually with another PowerScript.
- Download the script ContactManagerScopeRights.ps1 from my Github
- Change the two first lines to fit your environment.
$TenantID = "11111-08a2-4ade-9a68-0db7586d80ad"
$ManagedIdentity = "Tbone-Automate"- Run the script in PowerShell
- Go back to your automation account
- Open your RunBook
- Click Edit
- Change the setting $GlobalRunMode= “Test” to run in Test mode and no real changes are made
- Now you can click Test Pane
- And run the script to see the results.
- If it works as expected, change back $GlobalRunMode= “Prod”
- Publish the script and schedule the script to run every day.
Script can be found here ContactManager.ps1 from my Github