Update Intune Primary User with PowerShell or Azure Automation
Not all companies have implemented Autopilot. So, we still see a lot of customers running WDS or SCCM to reimage computers with company golden image. When preparing windows and logging in to the machine to do installs and customizations, it will automatically Hybrid Join the Azure Active Directory. And oops, it did so with the installer account. After that join it usually is configured to pop up in Intune so we can manage it. Intune has a Primary User assigned to each device. And guess who´s the Primary User! The installer account.
What is Primary User and why is that important.
The Primary User property in Intune is used when:
- Map a licensed Intune user to the device
- Show and map the user to the device in that users Company Portal app
- Show and map the user to the device in that users Device management website
- Easier to map user to device in Endpoint manager and Azure portal
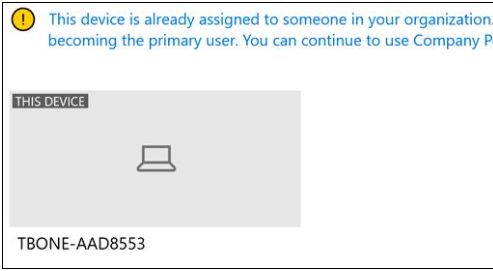
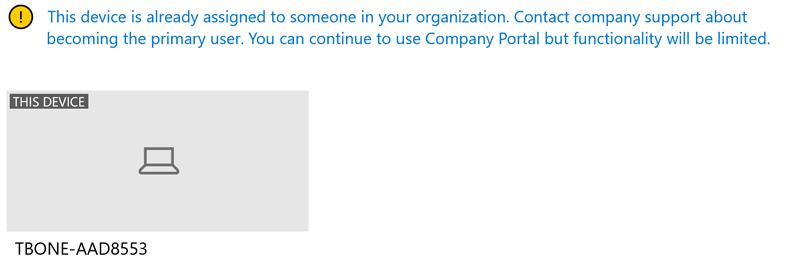
If primary user is another user, this will happen:
- Company Portal shows a warning “This device is already assigned to someone in your organization…
- If an Intune device has no primary user assigned, then the Company Portal app detects it as a shared device
- Company Portal is limited in functions. It can be published apps missing and device management tools missing.
How to change the Primary Use in Intune
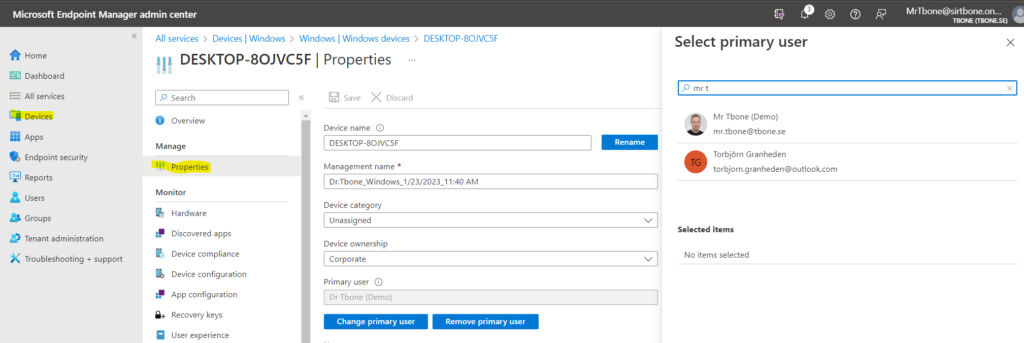
It is easy to change the Primary User on an Intune Device.
- Open Intune Portal
- Select Devices / Windows
- Select the Device you want to change
- Select Properties
- Click Change Primary User button
- Serach for and add the new user
- Click Save
Change Primary User with PowerShell or Azure Automation
But when you have lots of devices installed and enrolled with the install account. you might need to change them all. So, I built a script for this.
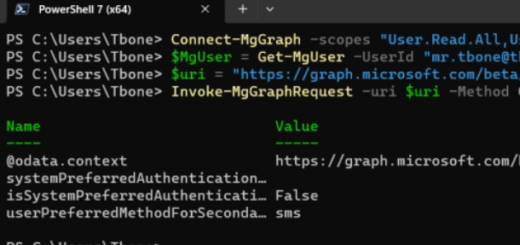
The script uses Graph and using the Microsoft MgGraph module.
First it collects all Devices in Intune that are “Windows” devices

Second it collects all sign in logs where the “application” is “Windows Sign In”

Then it loops and processes every device and:
- Sign in logs are used to determine who has logged on to the device the most times in the last 30 days
- Device object are used to get the Primary User of the device
- If they don’t match, it will change the Primary User to the user that has logged the most times in the last 30 days.
Not so complicated!
Run the script in PowerShell
If you want to run this script manually in PowerShell
- Download the script Intune-Set-PrimaryUsers.ps1 from my Github
- Modify the setting: “$AzureAutomation= $False”
You can also enable Test mode so no changes are made with $ExecutionMode = “Test” - Modify the other settings in the Modifiable Parameters and defaults section
- Run the script in PowerShell
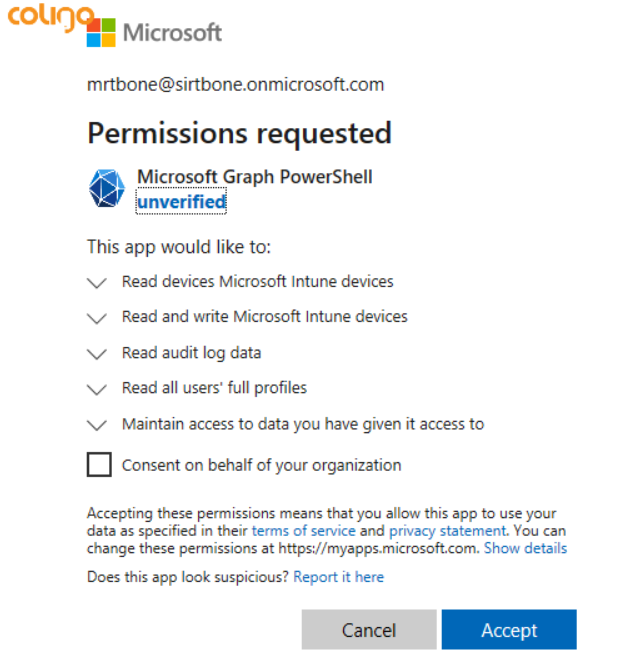
When running the first time you need to consent permissions that will be assigned to your account.
When running you will have a few host outputs on the progress:

Run the script in Azure Automation
Azure Automation is a fantastic tool to use to schedule automations in your organization.
- Open Azure Portal
- Create a new Azure Automation Account
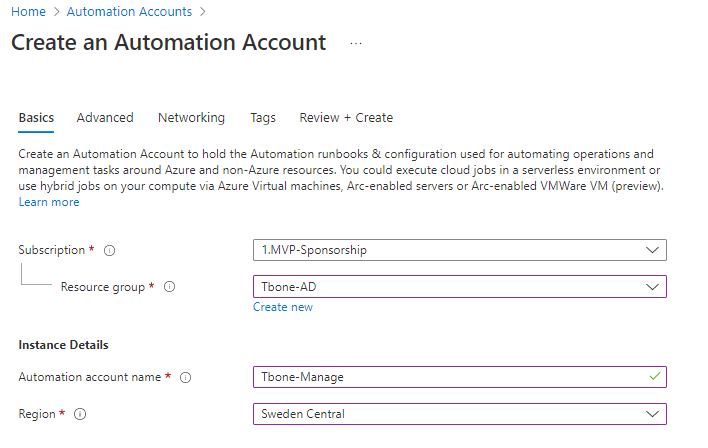
- Select System assigned managed identity
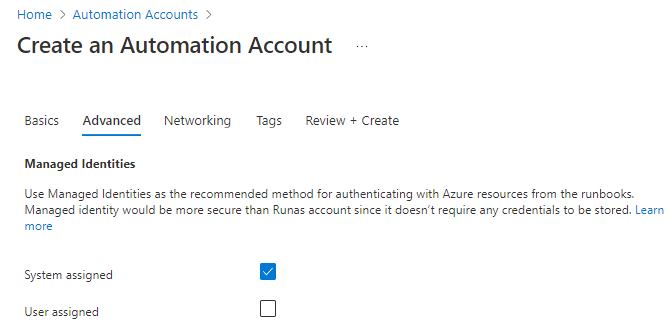
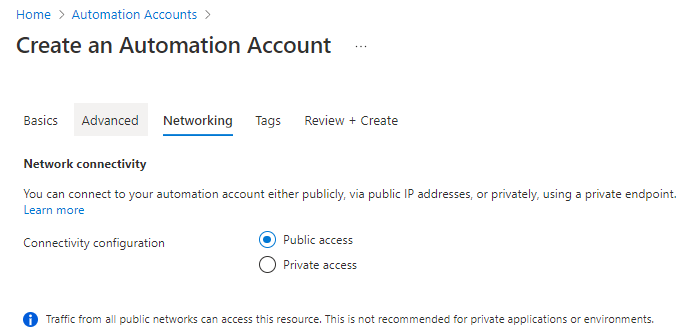
- And you can keep the Public network access
- When the account is ready, open it up
- Select Modules node and click Add Module
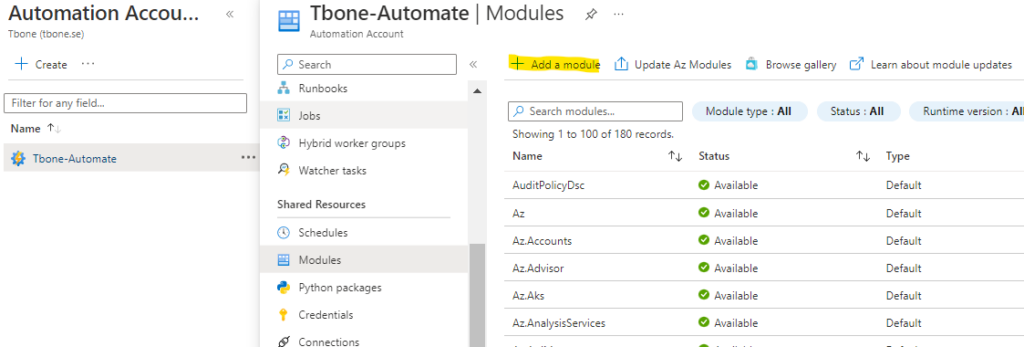
- Add these modules from Gallery in Runtime Version 5.1:
- Microsoft.Graph.Authentication
- Microsoft.Graph.DeviceManagement
- Microsoft.Graph.Reports
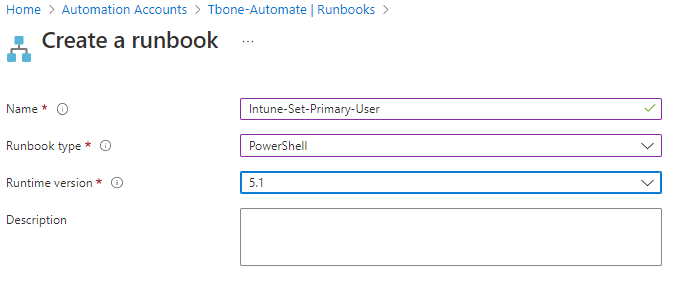
- Select Runbooks node and click Create a Runbook
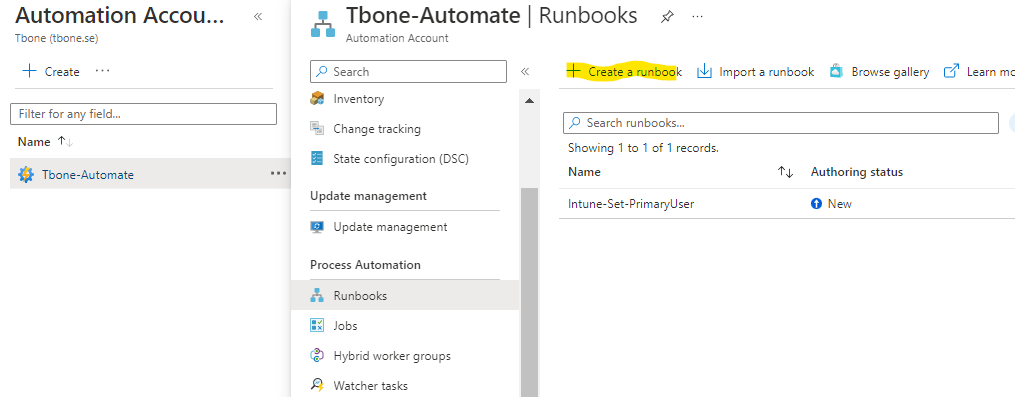
- Give the runbook a suitable name and select PowerShell with runtime version 5.1
- Copy the script Intune-Set-PrimaryUsers.ps1 from my Github and paste it in your Runbook.
- Modify it to suit your environment
- The last thing missing is permissions for your Managed Account. This needs to be added manually with a PowerScript.
- Download the script Azure-Add-PermissionsManagedIdentity.ps1 from my Github
- Change the two lines to fit your environment.
$TenantID = "11111-08a2-4ade-9a68-0db7586d80ad"
$ManagedIdentity = "Tbone-Automate"- Run the script in PowerShell
- Go back to your automation account
- Open your RunBook
- Click Edit
- Chage the setting $ExecutionMode = “Test” to run in Test mode and no real changes are made
- Now you can click Test Pane
- And run the script to see the results.
- If it works as expected, change back $ExecutionMode = “Prod”
- Publish the script and schedule the script to run every day.
Script can be found here Intune-Set-PrimaryUsers.ps1 on my Github